
inserting_and_editing_fields
Table of Contents
Inserting and Editing Fields
Every field has an internal name and all internal names must be unique within each app.
Insert a Field
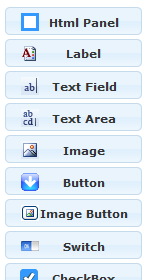
- Click on a New Field button to the left of the design canvas and its property sheet will pop up.
- Fill out the properties and click on the Insert button in the property sheet.
- If the field has characters, you can modify their size, color and style in the property view.
- After the field appears on the canvas, you can select it with a click, drag it and resize it.
- Use the alignment lines along the field edges to neatly line up the fields.
Edit a Field
- To select a field just click it and it's border will turn color.
- To see the field's properties just double click it, or select the field and click the Edit Field button.
- When two fields overlap you can bring the selected field forward with Bring to Front or push it back with Send to Back.
- Once you select a field, you can move it 1 pixel at a time using the any of the four arrow keys on your keyboard.
- Normally you can move any field to 1 pixel resolution. But if you want to snap the position of a field to a grid location, click on the toggle Snap to Grid button. If you want to change the grid size click on the edit icon inside that button.
Copy a Field
- To copy a field, select it and either click on the Copy Field button or press Ctrl-C (PC) or Cmd-C (Mac).
- To paste a copied field, either click on the Paste Field button or press Ctrl-V (PC) or Cmd-V (Mac).
Delete a Field
- You can delete a field by either hitting the delete key on your keyboard or clicking on Delete Field.